Brightlingsea Beach photos
Beach Huts

Westmarsh Point, Brightlingsea

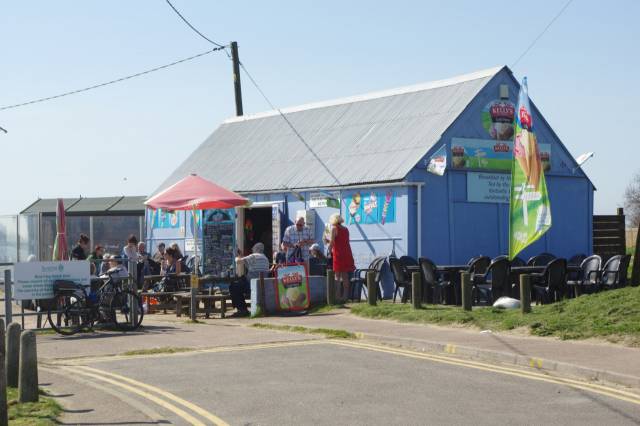
Batemans Tower Cafe, Brightlingsea
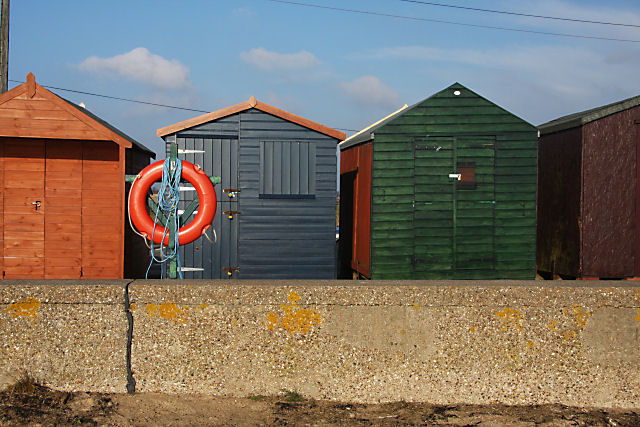
Beach huts and lifebelt, Brightlingsea
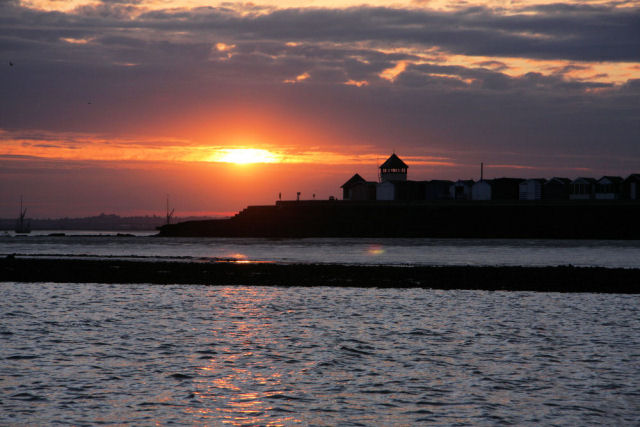
Bateman's Tower at sunset
Brightlingsea
Beach huts at Brightlingsea

Dogs not allowed to paddle

Beach Hut

Beach near Westmarsh Point

Fishy shelter, Brightlingsea

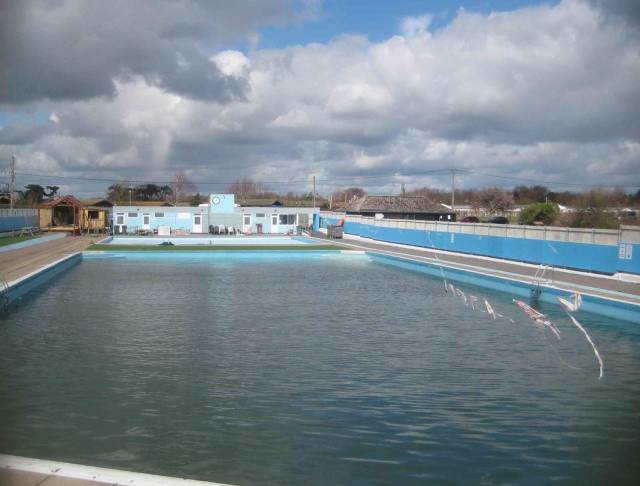
Paddling pool dividing wall

Bateman's Tower Folly

Beach huts, Brightlingsea

Bateman's Tower Folly

Beach Huts, Western Promenade, Brightlingsea

Bateman's Tower

Western Promenade, Brightlingsea

Hover over the map markers to see associated photo. Note, some markers show photographer's position whilst others show photo subject location.