Selwicks Bay photos
Selwick Bay Revisited

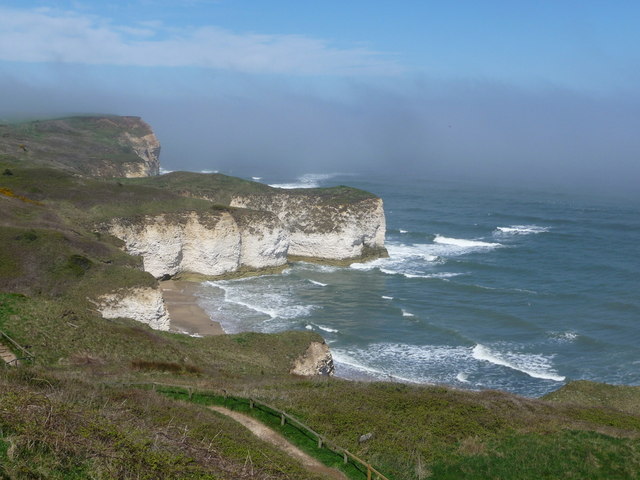
Flamborough: along the North Cliff
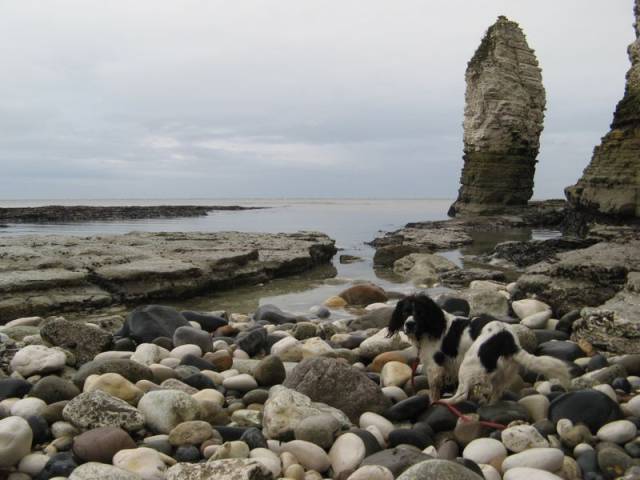
Beach boulders
Selwick Bay

On the beach at Flamborough Head

Paramoudra

Selwicks Bay

Selwicks Bay

Flamborough Lighthouse and the coastal path from Selwicks Bay

Selwick's Bay

Pillbox beside the Headland Way

Fault Breccia

Flamborough Head North Landing Beach

Flamborough Chalk

Selwicks Bay, Flamborough

Low Tide at Selwicks Bay, Flamborough Head

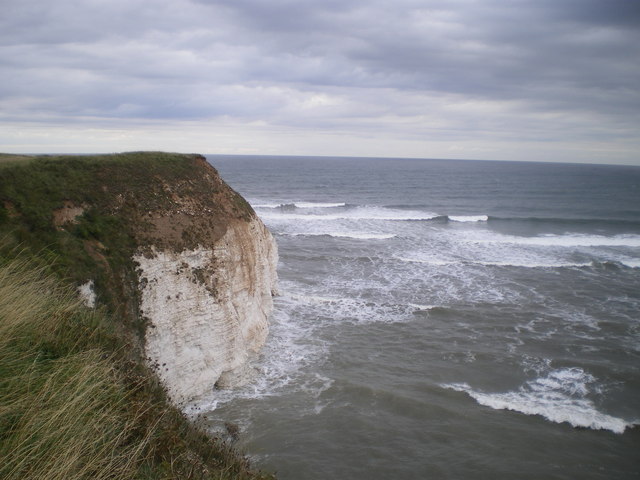
Cliff edge south of High Stacks
Hover over the map markers to see associated photo. Note, some markers show photographer's position whilst others show photo subject location.