Haverigg Beach photos
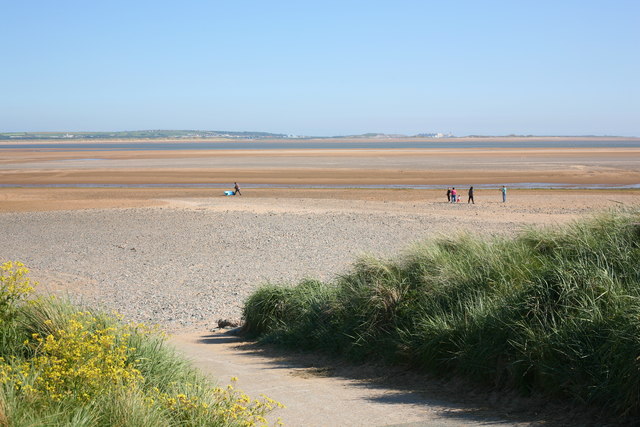
Beach access at Haverigg
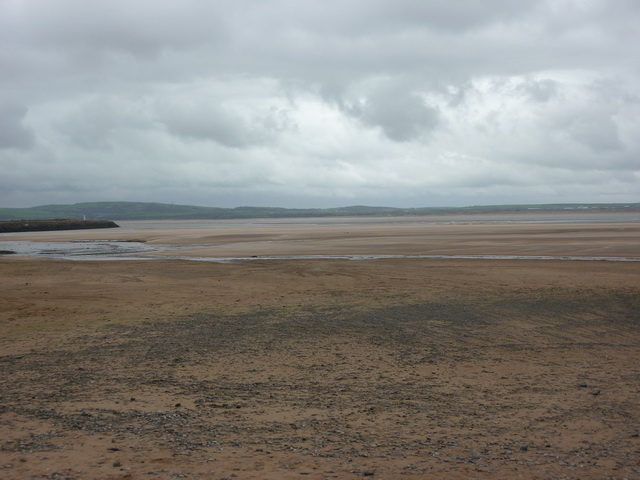
Haverigg Bank
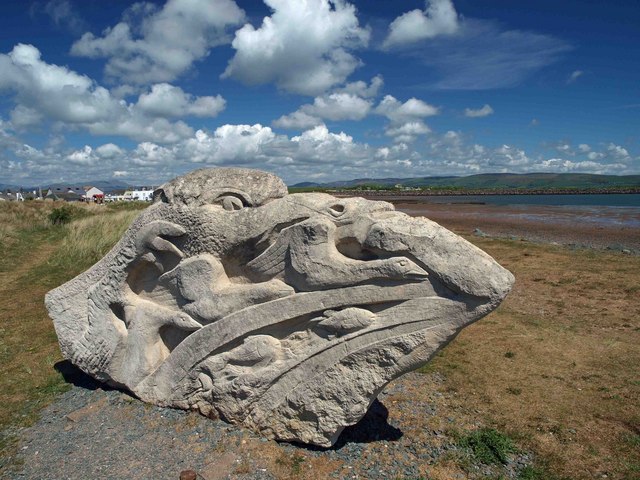
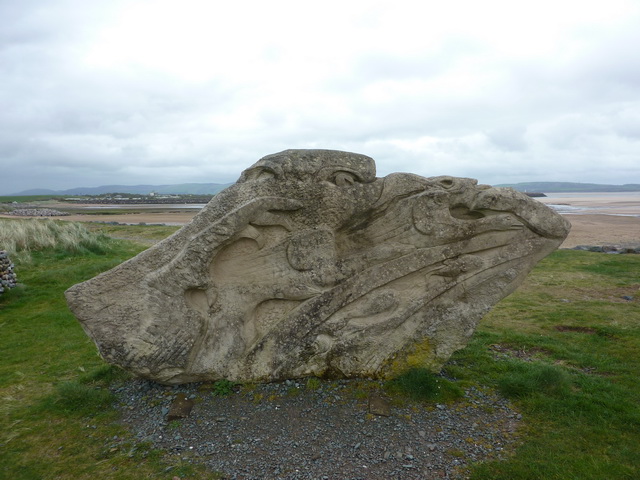
Sculpture overlooking Haverigg beach
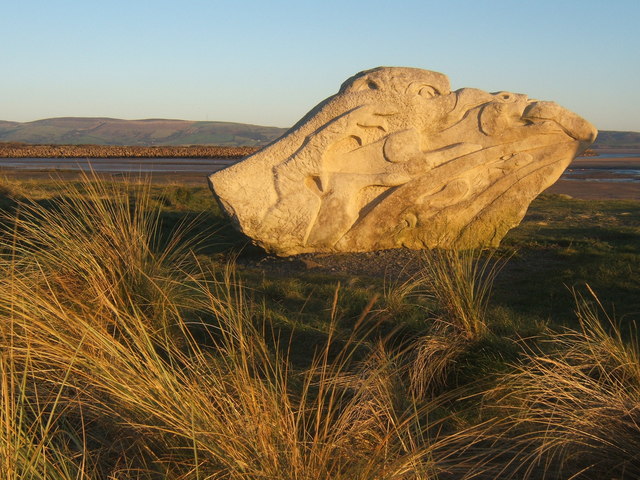
Sculpture to lost heroic sea rescuers
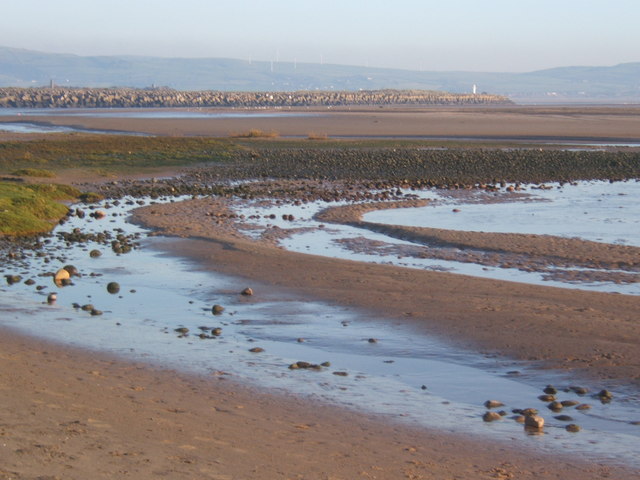
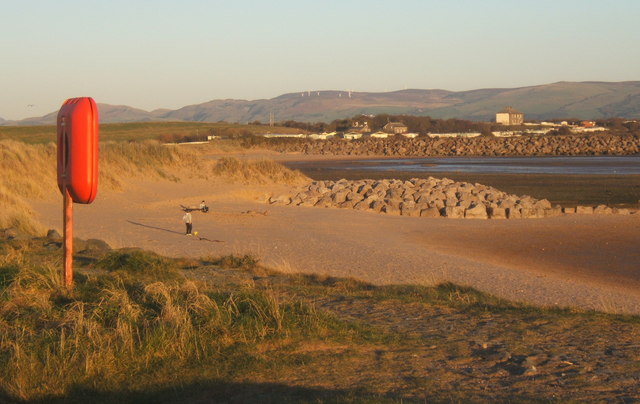
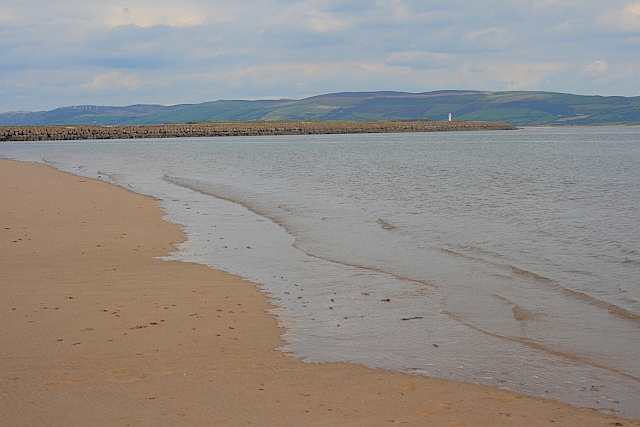
Beach at Haverigg, looking to the sea wall
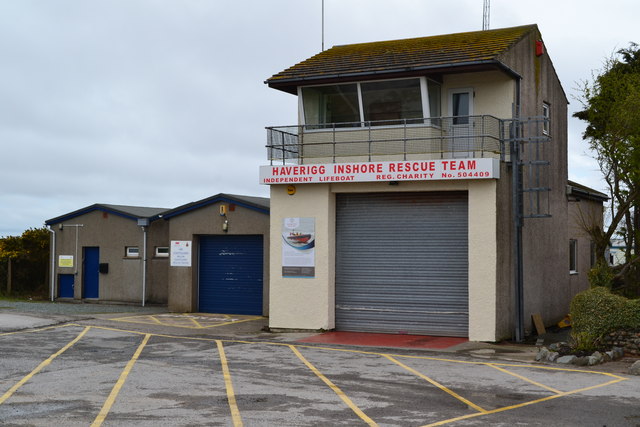
Haverigg inshore rescue team
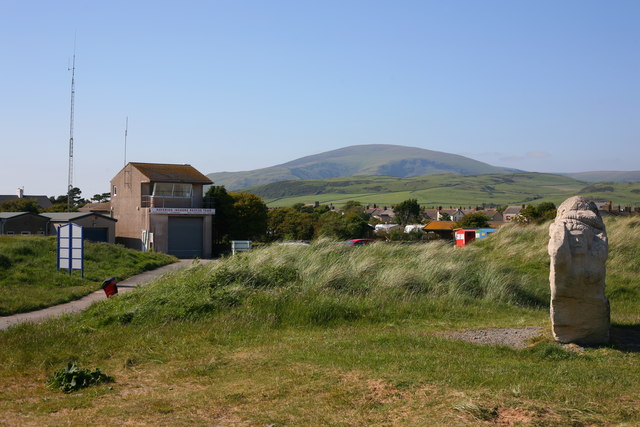
Haverigg Inshore Rescue Boat Station
Sculpture called "escape to light" by Josefina de Vasconellos
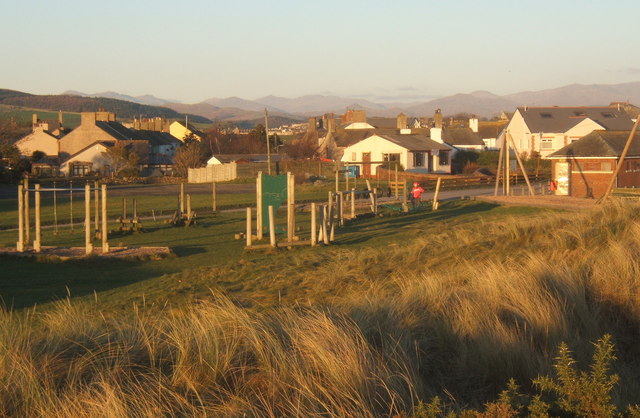
Play area by the shore in Haverigg
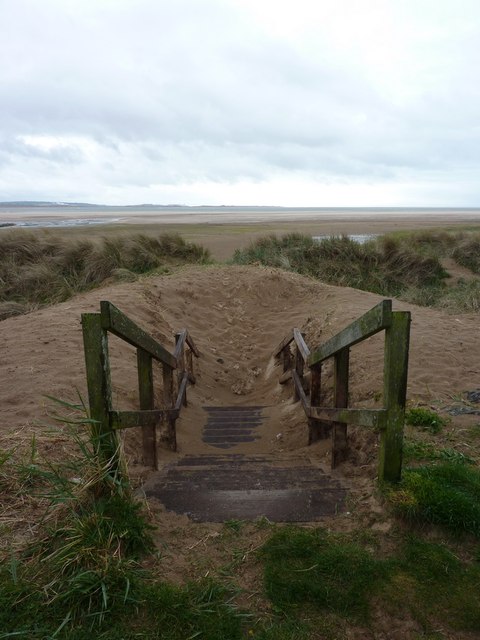
Steps to the beach, Haverigg
Haverigg Beach
Low Tide at Haverigg
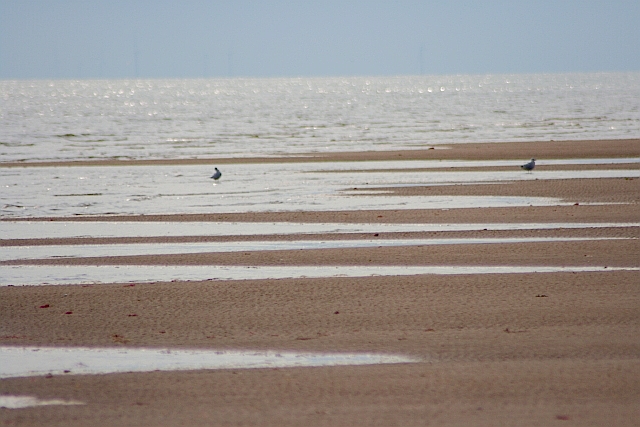
Low Tide at Haverigg
Hover over the map markers to see associated photo. Note, some markers show photographer's position whilst others show photo subject location.