Brough of Birsay Beach photos
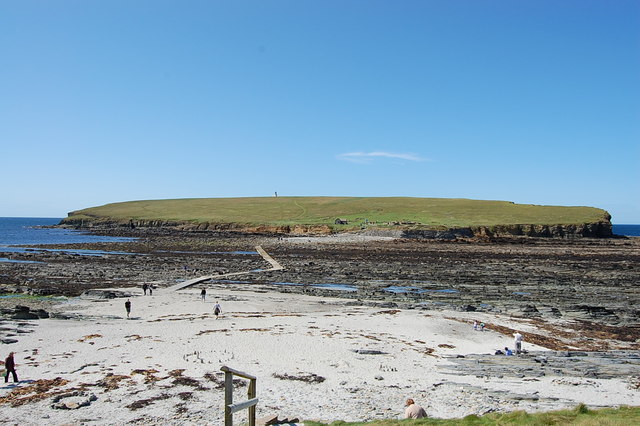
Causeway to Birsay
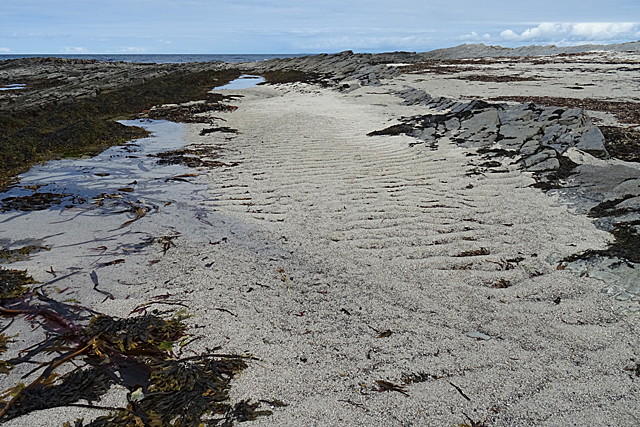
Sand Ripples
Flooded causeway to the Brough of Birsay
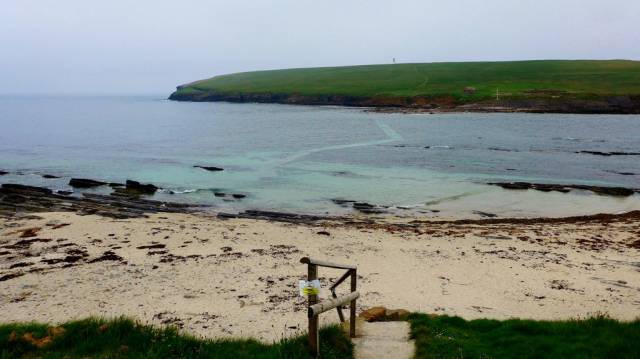
Path at High Tide

Brough Sounds

Hover over the map markers to see associated photo. Note, some markers show photographer's position whilst others show photo subject location.