Bull Bay photos
Porthllechog/Bull Bay (6)
Porthllechog/Bull Bay (1)
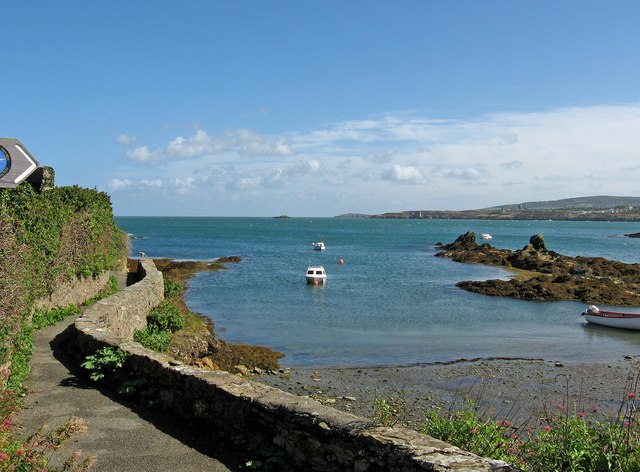
Porthllechog/Bull Bay (4)
Reefs in Porthllechog bay

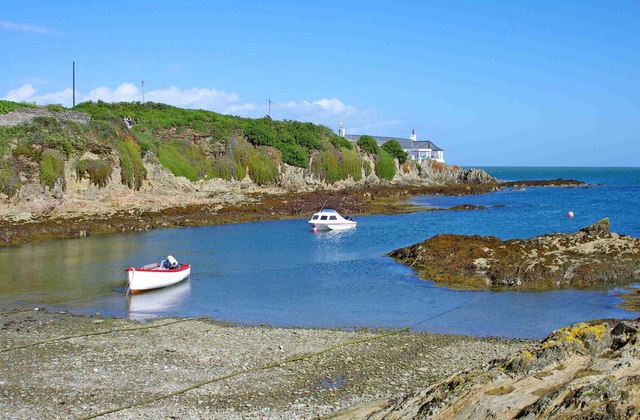
Launching area at Bull Bay

Porthllechog/Bull Bay (3)

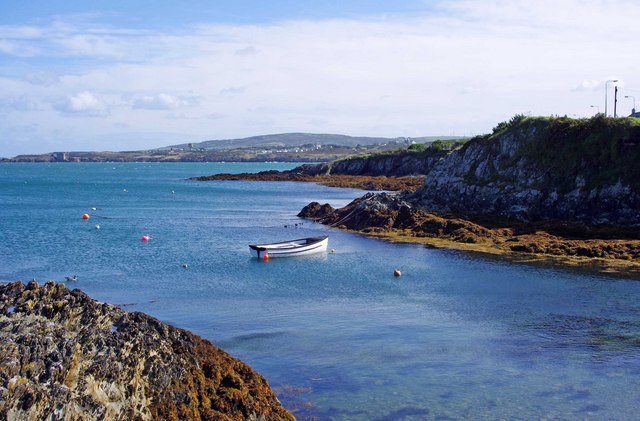
Porthllechog Reefs

The Bungalow, Porthllechog

Porthllechog/Bull Bay (5)

Hover over the map markers to see associated photo. Note, some markers show photographer's position whilst others show photo subject location.